

A great photo doesn’t always come straight from the camera. Even professional photographers take the time to tweak their images in post to ensure the perfect lighting and crisp details that they envisioned when taking the photo. This is where smart photo editing tips can turn your images from just another shot into something incredible.
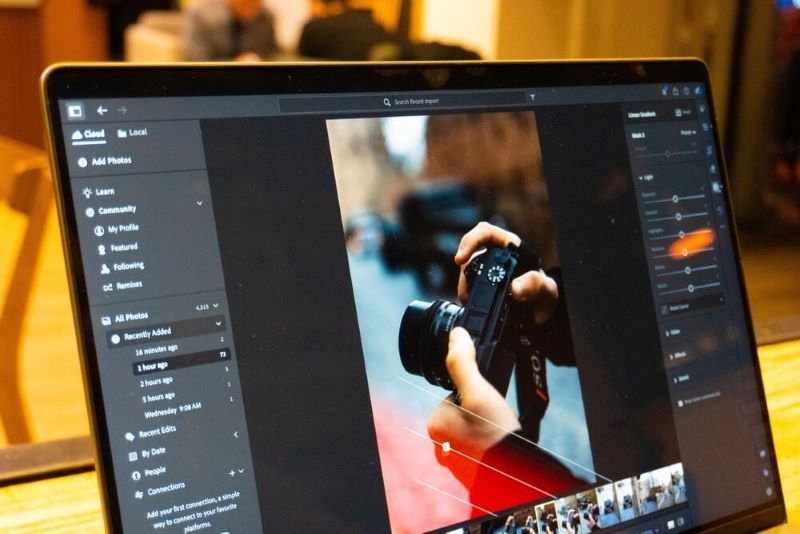
Learning professional photo editing tips doesn’t require years of training or an expensive studio setup. Since most professional editors now use the Adobe Lightroom and Photoshop suites, the learning curve is more attainable than ever for beginners. In fact, Adobe reports that millions of creators use Lightroom presets, raw editing, and color correction features every day for all their social media, portfolio, and business image needs.
This guide will break down practical, beginner-friendly editing tips you can use to make your photos pop and look more professional without over-processing. Whether you are retouching travel, portrait, or lifestyle photographs, use these guidelines to elevate your work.
A beginner's essential photography habits should include editing RAW files when at all possible. Raw files contain much more image data, giving greater latitude for adjusting brightness, shadows, colors, and sharpness without degrading image quality.
Dark shadows can be recovered in a RAW image without making them appear overly processed, but JPEG files will lose details more quickly the darker they get. Professional photographers often shoot solely in RAW for greater flexibility when editing. This is where Lightroom is excellent for beginners, helping them get a grasp of exposure and color editing.
Try This: Perfect Brightness with This Histogram Photography Guide
This is a beginner editing mistake that, in reality, will lead to more natural and professional-looking images. Many new editors slap on heavy filters before they even adjust the photo's actual exposure. Focusing on your basic editing adjustments first is the foundation for a beautiful edited photo.
Adjust these first:
Balancing all of these factors first is a clean foundation that will make any added creative adjustments appear more seamless. Minor tweaks are generally better than making massive adjustments to avoid over-processing. Most professional editors will say that more subtle edits are timeless.
Lightroom presets are incredibly useful for speeding up your workflow and creating a consistent style for your images. They can change your photos in a flash with warmth, cinematic effects, vintage looks, or bright modern colors.
You have to remember that these are only intended as a starting point and can’t be expected to work identically on every photo. A preset that is perfect for one image might make another look completely wrong due to lighting and color conditions. Use the presets as a base and adjust exposure, temperature, and saturation for each photo as needed to ensure the image looks realistic. This is also a great way to create a branded look for social media creators and businesses' online portfolios or websites.
The great part about professional editing isn't always about color. Composition can be improved in the editing stage of your images as well. Cropping is one of the best ways to eliminate distracting objects in the frame, level horizons, and improve focus. Most editing software, such as Lightroom or Photoshop, includes guides that follow the rule of thirds to create a balanced composition.
For example, straightening lines on architecture shots can instantly elevate the image, cropping tight on a portrait will keep the viewer's attention focused on the eyes, and removing unnecessary empty background space will make the subject the hero of the shot. In many cases, a simple crop will be more powerful than any adjustment.
Photo retouching is beneficial, but often overdone when you're first starting out. Over-smoothed skin makes portraits look artificial and textureless. The goal of retouching professional images should be to enhance photo quality features rather than erase them completely. A few simple touchups, like reducing temporary blemishes or brightening the eyes slightly, make more sense than full facial reconstructions.
Whether you're using Photoshop's Healing Brush or Clone Stamp retouching tool, don't be heavy-handed and use a small brush size. There is nothing worse than unrealistically smooth images when a more naturally edited photograph feels far more engaging.
The true power of editing comes from manipulating color in your photos. Color grading photos can set the entire mood and tone of your image. While the warm colors seem friendly and inviting, cooler colors have a much sharper, cinematic, or clinically sterile feel, depending on saturation.
When it comes to heavy edits, remember to make very subtle, simple changes first when you color grade. First, you'll want to get your White Balance, Temp, tint, saturation, and vibrance to where they look natural before you begin getting creative with your look. Many professional editors tend not to saturate at very high levels, as the colors look too artificial.
Sharpening your images is important for making your photos pop, especially in portraits, photographs, and landscapes. Unfortunately, excessive sharpening can lead to a grainy, noisy image. You want to apply sharpening selectively to specific areas, such as the eyes, textures, and architectural details of your image.
Most editors advise zooming into the image while sharpening so that you know exactly how much you are applying. Noise reduction tools can also be an essential feature for improving low-light images and eliminating noise without blurring.
Sometimes you don't want to make the same change across your entire image. For a more realistic, edited look, professional editors make changes to specific parts of the image at a time. You can choose to darken the sky, brighten the subject, add clarity to textures, or sharpen the focal point. Local adjustments give you a lot more control over each element of the photo and ensure it looks well-balanced. Lightroom's masking tools are very easy for beginners to learn how to adjust specific parts of an image.
A beginner often makes all of their photos look different from one another. Editing consistency can make your work look more professional and give you a signature style. If your style is bright and airy or dark and cinematic, maintain that look throughout your photo set. It's important for building a portfolio and website. This can be achieved with custom presets or by saving editing settings, but if a preset doesn't give you exactly what you want, manually adjusting your edits for each image will make your set stand out even more.
Learning photo editing tips for beginners doesn't have to be intimidating. Truly professional photos usually stem from editing the same few basic fundamentals. Being aware of your exposure, working in RAW, subtle use of presets, and good color grading will really turn an average picture into something outstanding, but in a way that looks like your image, not a filter.
Subtlety and consistency are among the most important factors in the most successful, professional-looking photographs. Even with, by far, the best equipment, tiny, minute changes will do a much better job than heavy filter usage or overediting. All you have to do to get better is practice and be delicate when making decisions. A style will emerge through experimentation and as you gain experience.
Lightroom is generally easier to learn than Photoshop for beginners, focusing on organizational and overall editing features. Photoshop has a steeper learning curve with more advanced editing options, such as detailed retouching and graphic design, but both are often used together by professional photographers for different editing tasks.
While beginners can often learn basic editing techniques in just a few weeks of regular practice, achieving a professional editing style can take several months or even years of consistent experimentation and application of new techniques, such as color correction, exposure adjustments, and composition development.
Absolutely! Surprisingly, there are many free apps with robust tools for amateurs. Snapseed, Canva, or Lightroom mobile, for example, are apps with features such as exposure editing, filter adjustments, and retouching that have proven extremely effective for producing professional results on the fly. Advanced professionals will undoubtedly continue to use their powerful desktop software, but for beginners, a free editing tool can create great images.
This content was created by AI